
Improve Locker-Room Access Before Buying New Lockers
A practical locker-room access plan for storage-facility operators: clear routes, reachable storage, usable locks, transfer benches and maintenance.
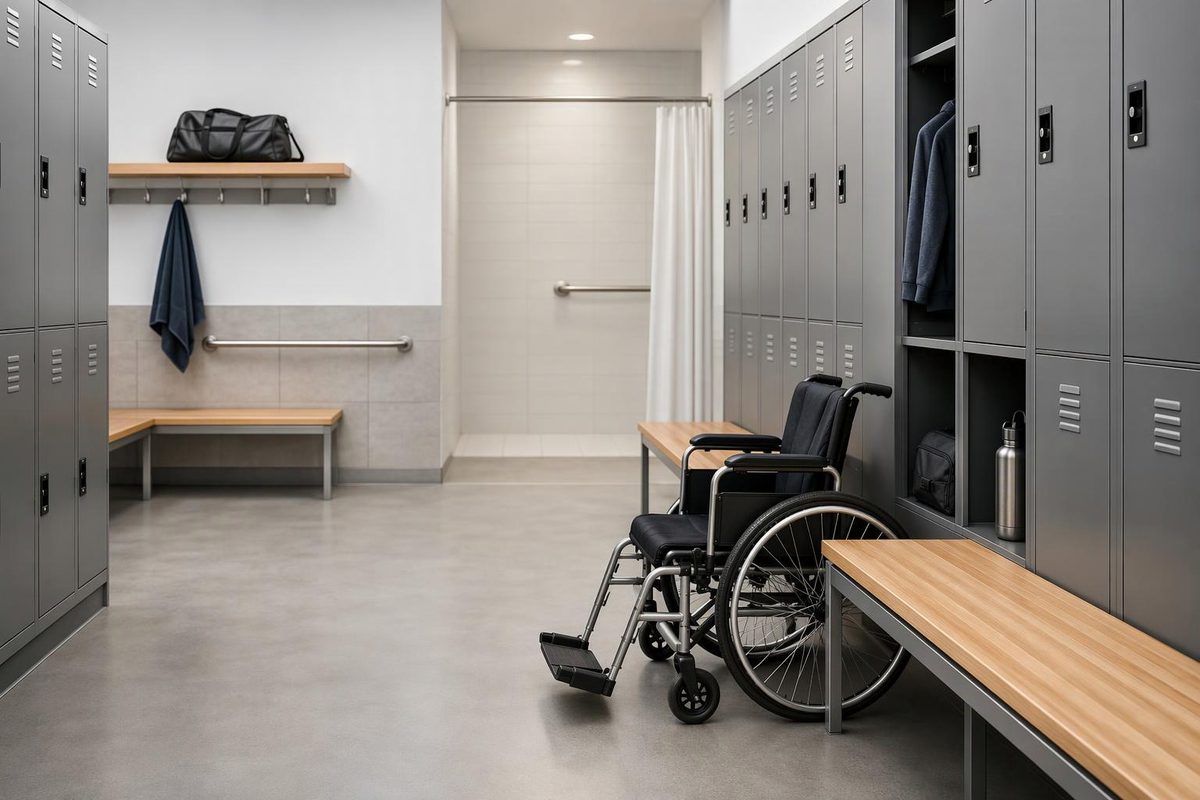
Improve locker-room accessibility by checking the entire task: entering, reaching a locker, unlocking it, storing belongings, changing and leaving. A lower locker does little good if a bench blocks the approach or its latch requires a tight pinch.
For a self-storage operator, this checklist concerns a staff locker or changing room—not the rentable storage units. The U.S. ADA Standards address lockers and self-service storage spaces separately. The dimensions below are federal design benchmarks; have a qualified designer confirm the requirements for your building, alteration and applicable state or local code. Existing-building obligations are not identical to new-construction requirements. DOJ’s 2010 ADA Standards explain that distinction. Employee locker rooms do not receive the limited-access treatment allowed for spaces used only by employees for work. Access Board scoping guidance
1. Fix the route and approach space first
Walk the route from the staff entrance to the locker room. Record narrow points, raised thresholds, heavy doors and obstacles. Remove stored cartons, cleaning carts and loose belongings from circulation and transfer spaces; give them a designated location elsewhere.
For a layout review, distinguish three different clearances:
| Space | U.S. ADA design benchmark |
|---|---|
| Accessible walking route | Generally at least 36 inches clear; turns can require more |
| Locker approach | At least 30 × 48 inches of clear floor space, connected to the accessible route; confined alcoves can require more |
| Turning space within an accessible locker room | A circle at least 60 inches in diameter or a compliant T-shaped space |
These are clear dimensions after furniture is installed, not distances between walls on an empty plan. Required approach and turning surfaces must be firm, stable and slip resistant, with no level changes and slopes no steeper than 1:48. See Sections 304, 305 and 403 and the Access Board’s clearance guide.
Check the entrance separately. A swinging door generally needs at least 32 inches of clear opening, measured between the door face and stop with the door open 90 degrees—not by the nominal door width. Door maneuvering clearance depends on the approach direction, swing, closer and latch. An inward-swinging locker-room door needs wheelchair clear floor space beyond its swing arc. Have maintenance measure opening force and adjust closers without compromising required fire-door operation; the federal 5-pound opening-force limit has exceptions, including fire doors and exterior hinged doors. ADA door and room requirements and Access Board door guidance
2. Make the storage reachable—not just the handle
Under Section 225.2.1, at least 5% of lockers, but no fewer than one of each type, must comply with Section 811 where those requirements apply. Full-size and half-size lockers can count as different types. Accessible-room counts are separate: Section 222.1 requires at least 5%, but no fewer than one, of each type of use in each cluster, with an exception for technically infeasible alterations. One accessible locker does not make the room accessible. ADA locker and room requirements
Measure the usable storage, hooks and controls from the finished floor. The standard adult unobstructed reach range is 15–48 inches, but reaching over an obstruction can reduce the permitted high reach. A bench placed in front of the locker can therefore defeat an otherwise suitable installation.
For room hooks and shelves required to be accessible under Section 222.2, Section 803.5 places hooks within an accessible reach range and shelves at 40–48 inches above the floor. Keep these room-shelf dimensions distinct from general locker-storage reach requirements. Sections 222, 308, 803 and 811
Before ordering, ask the supplier for dimensioned drawings showing the shelf, hook, handle and lock positions. Check whether a seated user can store the actual load—such as a coat, work shoes and a lunch bag—rather than merely touch the latch.
3. Choose hardware by operation, not lock type
Accessible fixed operable parts must work with one hand, without tight grasping, pinching or twisting of the wrist, and require no more than 5 pounds of activation force. Lever-shaped handles and U-shaped pulls are useful starting points, but evaluate the complete handle-and-lock assembly.
Do not assume every keypad is accessible or every keyed lock is prohibited. The Access Board notes that removable keys and access cards are not subject to the same fixed-hardware requirements, although easier-to-manipulate versions improve access. Operable-parts guidance
Ask users to try a sample before a bulk purchase. Check button size, visibility, feedback, reach and whether unlocking requires simultaneous actions. Request a workable alternative if the proposed system is unsuitable for someone; staff assistance should not be the default design solution.
4. Provide a proper changing bench and equivalent privacy
An accessible locker room requires a bench complying with Section 903. Key specifications include:
- Seat at least 42 inches long, 20–24 inches deep, and 17–19 inches high.
- Back support meeting the standard, or attachment to a wall.
- Clear floor space at the end, parallel to the bench’s short axis.
- Materials, fasteners and supporting structure meeting the 250-pound applied-force requirement.
Have the installer verify support dimensions and anchorage—not just a product’s advertised weight capacity. Benches in wet locations must have slip-resistant seats that do not accumulate water. ADA bench requirements
Position partitions and doors to offer privacy equivalent to that available to other users. Do not turn the accessible changing compartment into overflow storage. If the room includes showers or toilets, include their separate fixture and clearance requirements in the design review; locker and bench improvements alone do not address them.
5. Budget the fixes and keep them usable
Use clear, high-contrast locker numbers and straightforward operating instructions. Improve uneven lighting and glare. Have permanent room signs checked against the ADA sign requirements, and have the alarm contractor review notification coverage. Where fire alarm systems provide audible coverage, Sections 215 and 702 address accessible notification in public and common-use areas. Section 215.1 includes an existing-facility exception for visible alarms until a system is upgraded or replaced, or a new system is installed. ADA signs and fire alarms
Split the work into practical packages:
- Housekeeping and maintenance: remove obstructions, repair sticking hardware and restore lighting.
- Equipment changes: relocate reachable storage, replace unsuitable hardware and install a properly supported bench.
- Building work: change doors or partitions, enlarge clearances, or alter wet facilities.
Request itemized quotes including installation, anchorage, electrical work, permits where required and temporary loss of locker capacity. Do not postpone a necessary fix simply because it falls in the building-work category.
After changes, repeat the task walkthrough with willing users and assign a routine inspection owner. Keep approaches clear, repair failed locks promptly and retain usable accessible capacity. Handle who receives which locker through a separate workplace locker-allocation policy; allocation cannot compensate for an inaccessible physical layout.